How To 3D Print Transparent Resin Parts
Getting transparent 3D printed parts can be quite challenging, but the team of engineers at Liqcreate have developed a process that anyone can do at home.

Getting transparent 3D printed parts can be quite challenging. Clear and transparent 3D prints are ideal for creating clear prototype parts, showing internal cavities and details. Applications like LED housings, prototyping lens parts and microfluidic devices are a few examples of application 3D-printed with clear resin.
Resin 3D-printing is one of the only 3D-printing technologies that can create high resolution transparent plastic parts. One of the challenges in resin 3D-printing is to produce perfect transparent parts that will not yellow over time. Often, first-time-users are surprised by the transparency of parts fresh from the printer, as seen in the Coca-Cola bottle in the image below on the left side. After washing and drying, the transparency is lost and the part has a “frost” finish (middle bottle). A post-processing step is necessary to create long-lasting transparent plastic parts.
There are a wide range of clear resins available for 3D-printing. Not every resin is suitable for long lasting transparent parts. For instance epoxy resins, often used in large 355nm laser 3D-printers are notorious for their discoloration over time. Next to epoxides, acrylates and urethanes are used in LCD, DLP, desktop laser based and MSLA 3D-printers. Depending on the quality of the resin, some are better for clear, non-yellowing parts. There are a few factors that are important when it comes to transparent parts:
- Resin formulation and quality
- Post-processing
- Post-curing
Resin formulation and type of 3D-printer
The basics of good transparent and low/non-yellowing parts is the resin itself. Low quality raw materials and impurities in the resin can cause extra yellowing over time. Next to selecting high quality raw materials, the resin technology and additives are important as well. In this article we are using Liqcreate Clear Impact developed for impact application prototypes and designed to prevent extra yellowing overtime.
Post-curing clear parts
Post-curing is an important step in resin 3D-printing. During printing, the resin does not fully cure and is often soft and bendable. With a proper post-cure, its final properties are achieved. Often a good dose of UV (365, 385 or 405nm) at a slightly increased temperature is required for near 100% conversion. To get the least yellowing for clear parts during post-processing and after, it is important to post-cure at room temperature, preferably in three steps of 5 minutes. At elevated temperatures, side products can cause extra yellowing.
Post-processing clear parts
After printing, clear parts often look amazing. They are 100% transparent, which change when the parts are washed. After washing in IPA or Ethanol, the parts slowly turn into a frost finish once the solvent is drying. To get back to a transparent finish, some post-processing steps are required.
There are a few possibilities to post-process clear parts to get a transparent surface finish. The mostly used techniques are:
- Sanding and polishing
- Resin dipping
- Nitrogen UV-curing
- Spray coating
Sanding and polishing
Manual sanding and polishing is an effective and affordable method for parts with simple shapes. Often solid parts like lenses, microfluidic devices or solid parts like prisms can be effectively turned into transparent parts. Start with a rough sandpaper grid and work towards a very smooth grid. Sand and polish all the layer lines and defects away and eventually with the finest grid, parts turn transparent. The final finish should be polished with a microfiber and special cleaner. A polishing wheel can make this job easier, as long as the parts are not too complex and difficult to reach by hand or wheel.
Resin dipping
Resin dipping was first proposed by Formlabs in their article on post-processing of clear parts. It works by dipping the part in 3D-printing resin and then post-cure it. After a few layers the parts turn transparent. It should be noted that 3D-printing resin is perhaps not the best type of resin to use as a coating. The viscosity and sticky surface finish will not be ideal for daily used parts and the details are partly faded away by the layer of the resin.
Nitrogen curing
Taking the best part of resin dipping and making it even better, you end-up with nitrogen curing your parts. When your parts are printed, don’t wash them and let most of the resin drip off the part. This way a thin resin coating is left on the part. Adding a bit of heat can make the resin layer thinner to preserve more details. When the layer is thin enough, cure the part in an UV-chamber with nitrogen. This will eliminate all the oxygen and give a non-sticky and transparent part.
Spray coating
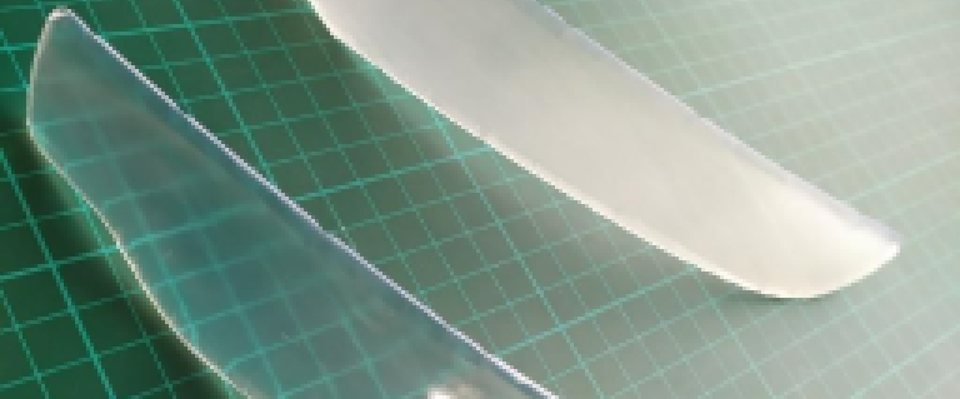
Easiest of all is to wash your parts with IPA/ethanol, dry and UV-cure them, followed by a spray coating. If the part is simple, a sanding step can be executed before coating. This will increase the translucency and erases the pixel and printing layers. Use an acrylic spray and spray multiple layers to get good surface finish. The Coca Cola can in the picture above on the right side is made this way, without sanding. For an easy, affordable and fast process, this method is advised. The transparency can be boosted with adding more coating layers on top. After a few layers parts can look like the 3D-printed protective glass below.
Team Liqcreate wish you happy printing!